Microcontroller Project
Writing C++ code with Mbed OS for various projects using the FRDM-K64F board.
Overview
My partner recently managed to get me a FRDM-K64F board, and I have been using it to learn more about microcontrollers and embedded systems. I have been using Mbed OS to write C++ code for various projects, and I have been learning a lot about the hardware and software aspects of microcontrollers.
I’ve written up some of the projects I’ve been working on below. They are available on my GitHub with the code and documentation.
Projects
I have a kit full of sensors that I purchased a while ago for my Raspberry Pi, so I challenged myself to use the sensors with the FRDM-K64F board.
Basic flashing LED
Of course the first thing I tried was a simple “hello world” program for the board, which is making an LED flash on and off.
RGB LED
Next I tried to use an RGB LED, and I managed to make it change colour using PWM. Initially I was going to use a rotary encoder to change the colour, but it was far too unreliable, so I opted to just have it randomly change colours.
Ultrasonic sensor
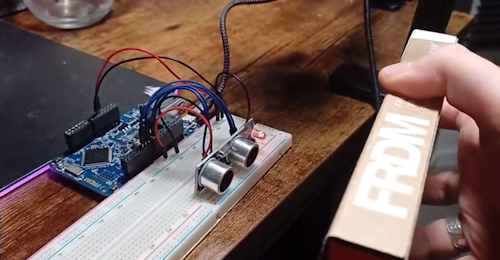
Using the ultrasonic sensor, I made a program that changes the colour of a RGB LED based on the distance of an object from the sensor. When my hand is close to the sensor, the LED turns red, and when it is far away, the LED turns green, with a linear gradient in between.
Temperature and humidity sensor
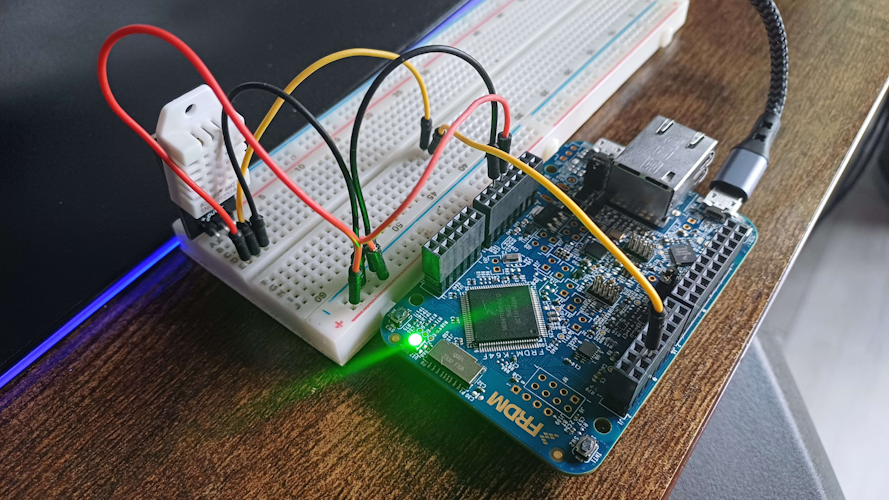
My sensor kit came with a DHT22 temperature and humidity sensor. I made a program that changes the colour of the built-in RGB LED based on the temperature. Furthermore, I printed the temperature and humidity to the serial monitor.
I also added a buzzer to the board, and made it beep when the temperature goes above a certain threshold.
Touchscreen drawing

I have a 2.8” touchscreen that I used with my Raspberry Pi, and I wanted to see if I could use it with the FRDM-K64F board. I managed to get it working, and I made a program that allows me to draw on the touchscreen using the stylus.
Due to the polling rate and the sensitivity of the touchscreen, it makes a dotting effect when drawing. I challenged myself to improve this, so I included a feature that draws a line between the previous and current position of the stylus. It also resets this when you lift the stylus off the screen, so that way when you start drawing again, it doesn’t draw a line from the previous position to the new one.
Joystick controlled drawing
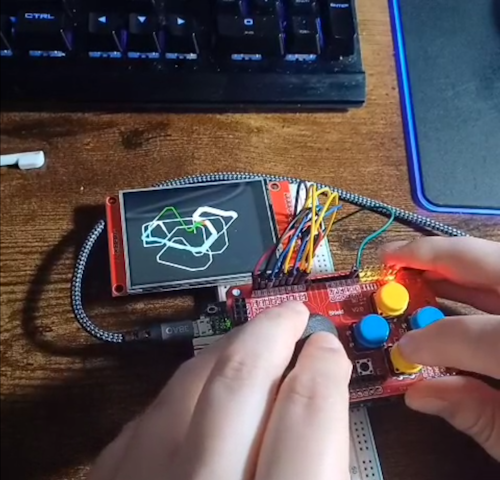
The joystick shield I have is for an Arduino, but the great thing about the FRDM-K64F board is it is compatible with Arduino shields. I made a program that allows me to draw on the touchscreen using the joystick. I also bound the buttons to change the colour and radius of the line, and a button to clear the screen.
This project was a great opportunity for me to apply concepts of concurrency and object-oriented programming. The program is split into classes for the buttons, canvas, joystick, and touchscreen, which is brought together in the draw application class. Additionally, I created a button map class which binds buttons to functions in the drawing application, meaning that I can easily change the button bindings.
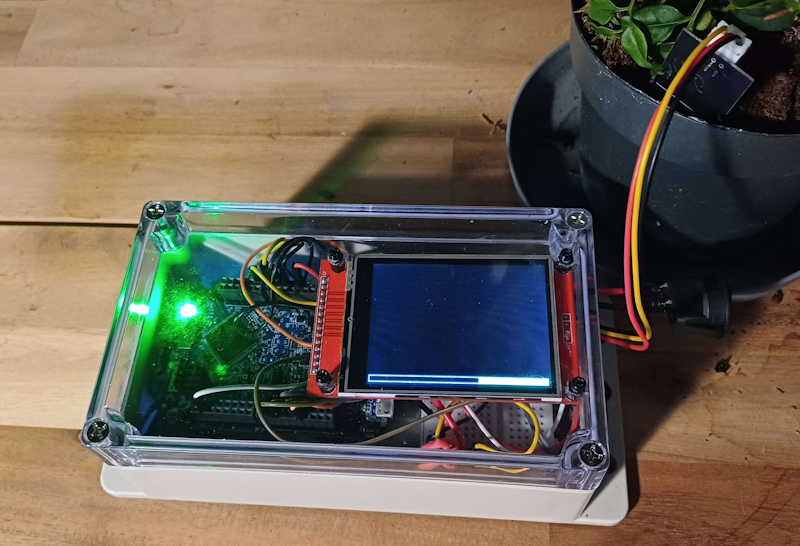
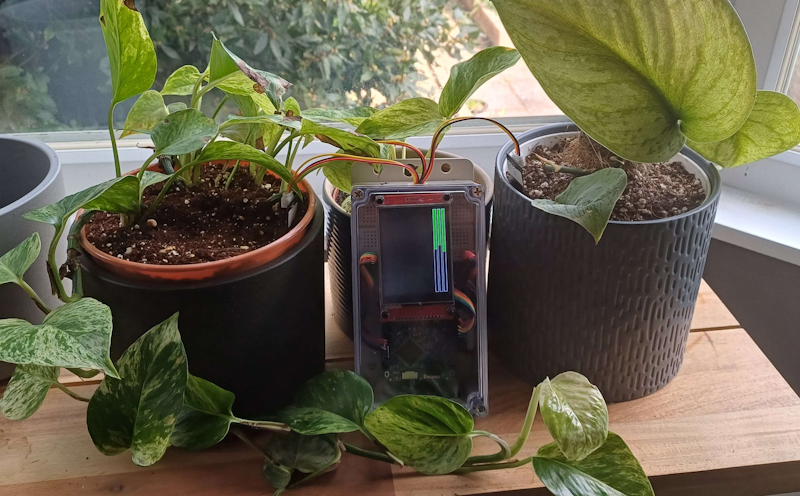
Moisture Sensor & building a project box
Now I had become more familiar with the board and programming in C++, I wanted to build a project that was more practical.
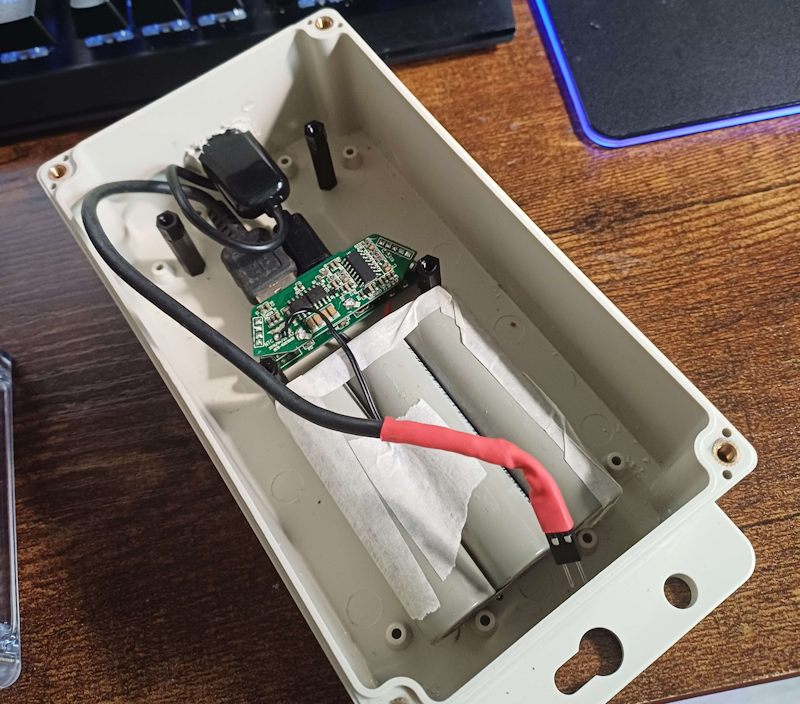
I purchased a project box that I would store the board and a battery in, as well as a breadboard so I could still prototype with the microcontroller. To make the project portable, I took apart a USB power bank and created a custom connector to the breadboard for power. The nice thing about this power bank is it can be charged and used at the same time, and it has temperature and overcharge protection.
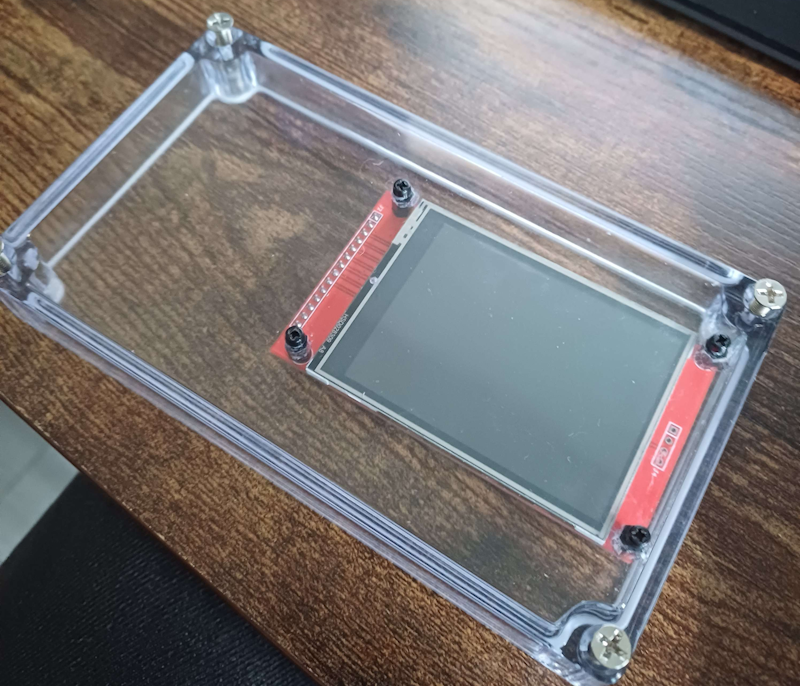
The project box has a transparent lid which was perfect for mounting the display, using nylon standoffs.
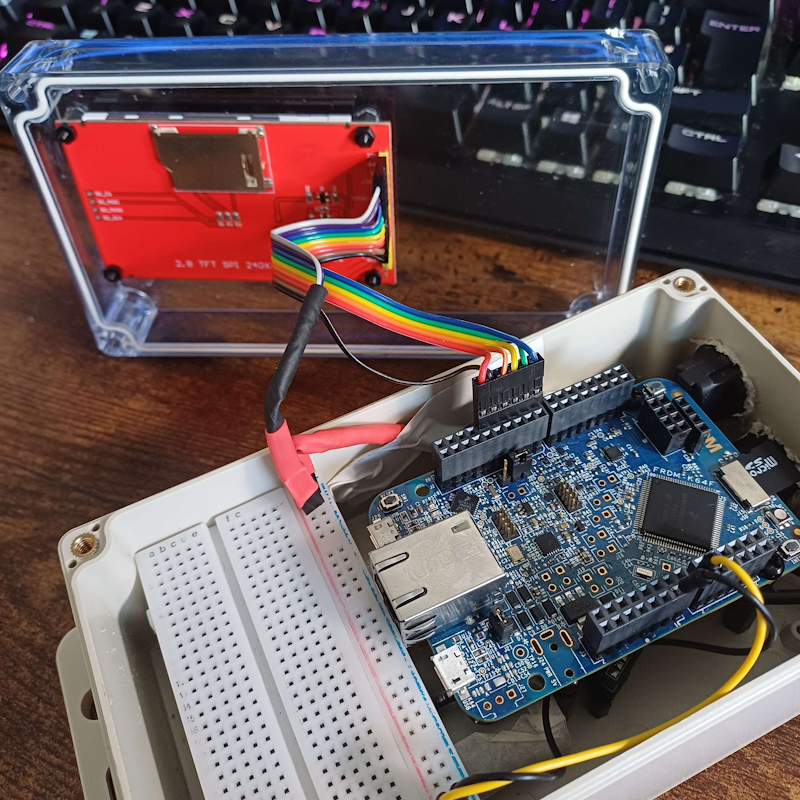
Lastly, I made some custom wires with connectors so that I could easily connect the display, power, and sensors to the breadboard or the FRDM-K64F board. Also, I mounted the FRDM-K64F board to the project box using nylon standoffs above the battery pack, and added a power switch to the box.
I have three moisture sensors that I previously used with my Raspberry Pi, and I wanted to use them for this project. I created custom connectors so that I could easily connect them to the breadboard. I made a program that reads the moisture level of the sensors and displays it on the touchscreen. I modified the display library to add a ProgressBar class, which I used to display the moisture level.